
Ms. J doesn’t eat pizza much anymore. I think she’s a victim of anti-gluten disease, a condition caused by a generalized phobia for anything which a bunch of people are shunning. (Alas, Ms. J feels better than she ever has, and is as fit and trim as can be! So, who am I to talk?)
Me? I’m still a fan, but only when the pizza’s worthy. No late nights with Dominos, Papa John, or Little Caesars for me. And I find myself, increasingly, favoring what I make at home.
I like my pizzas lean and dry, mostly. Barely there with the cheese and less/no sauce, and I’m happy. And, as it is with the soaked salad you asked the restaurant to dress lightly, it’s hard to get a pizza with just a little sauce and cheese.
Then there’s the matter of the crust. In commercial pizzerias—read: chains and volume facilities—the crust is a cheese and topping delivery device. Nobody opposes a good crust, but most pizzerias can’t or won’t do what it takes to make a good crust. Lots of time, and a limited number of top-quality ingredients are critical, and the time and labor are expensive. (As an aside, I did see a review at Serious Eats—a great place for food stuff—about Subway’s new Flatizza. In case you’re wondering, the “yoga mat additive” reference comes in the second paragraph!)
Are you bored yet? Here to keep you interested for a moment or two is a recent effort. I think it’s cheese with mushrooms, asparagus, and green onions:
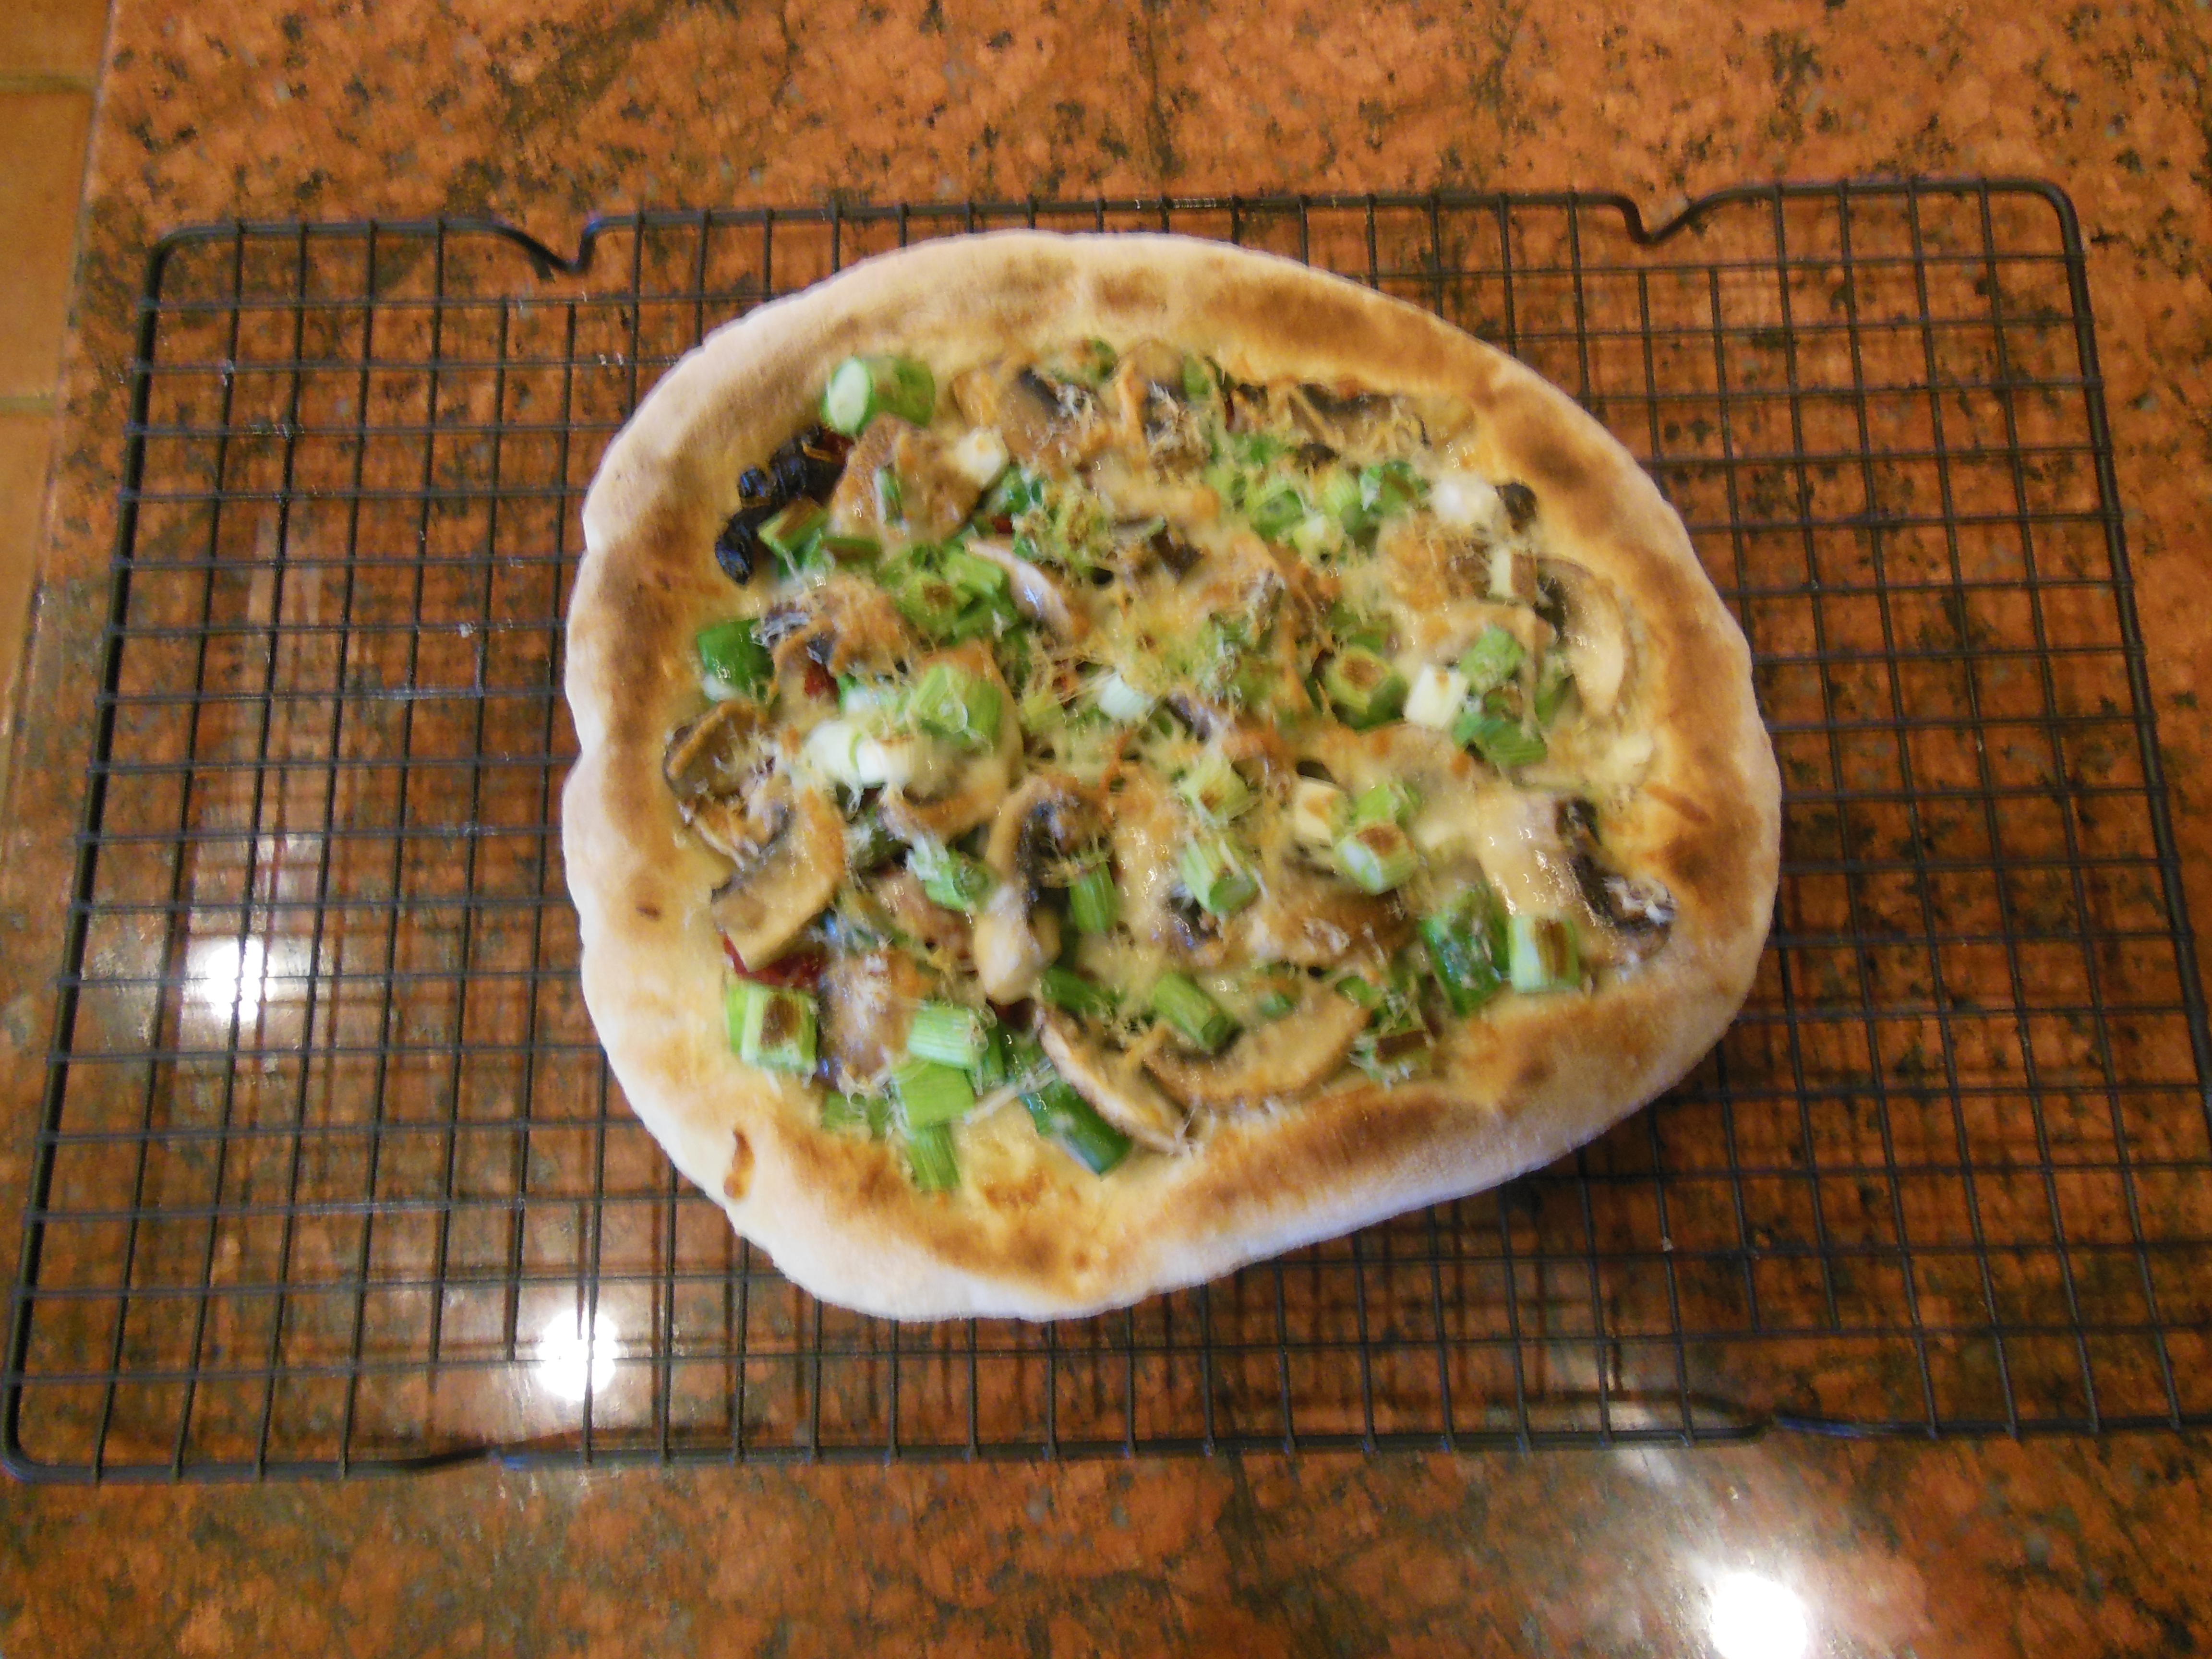
That’s a no sauce pizza with Trader Joe’s shredded quattro formaggio, green onions, mushrooms, and sun dried tomatoes. The pie was baked on my Baking Steel, a 15 by 14 inch, ¼ inch thick steel plate. (Fantastic product! Click and learn.)
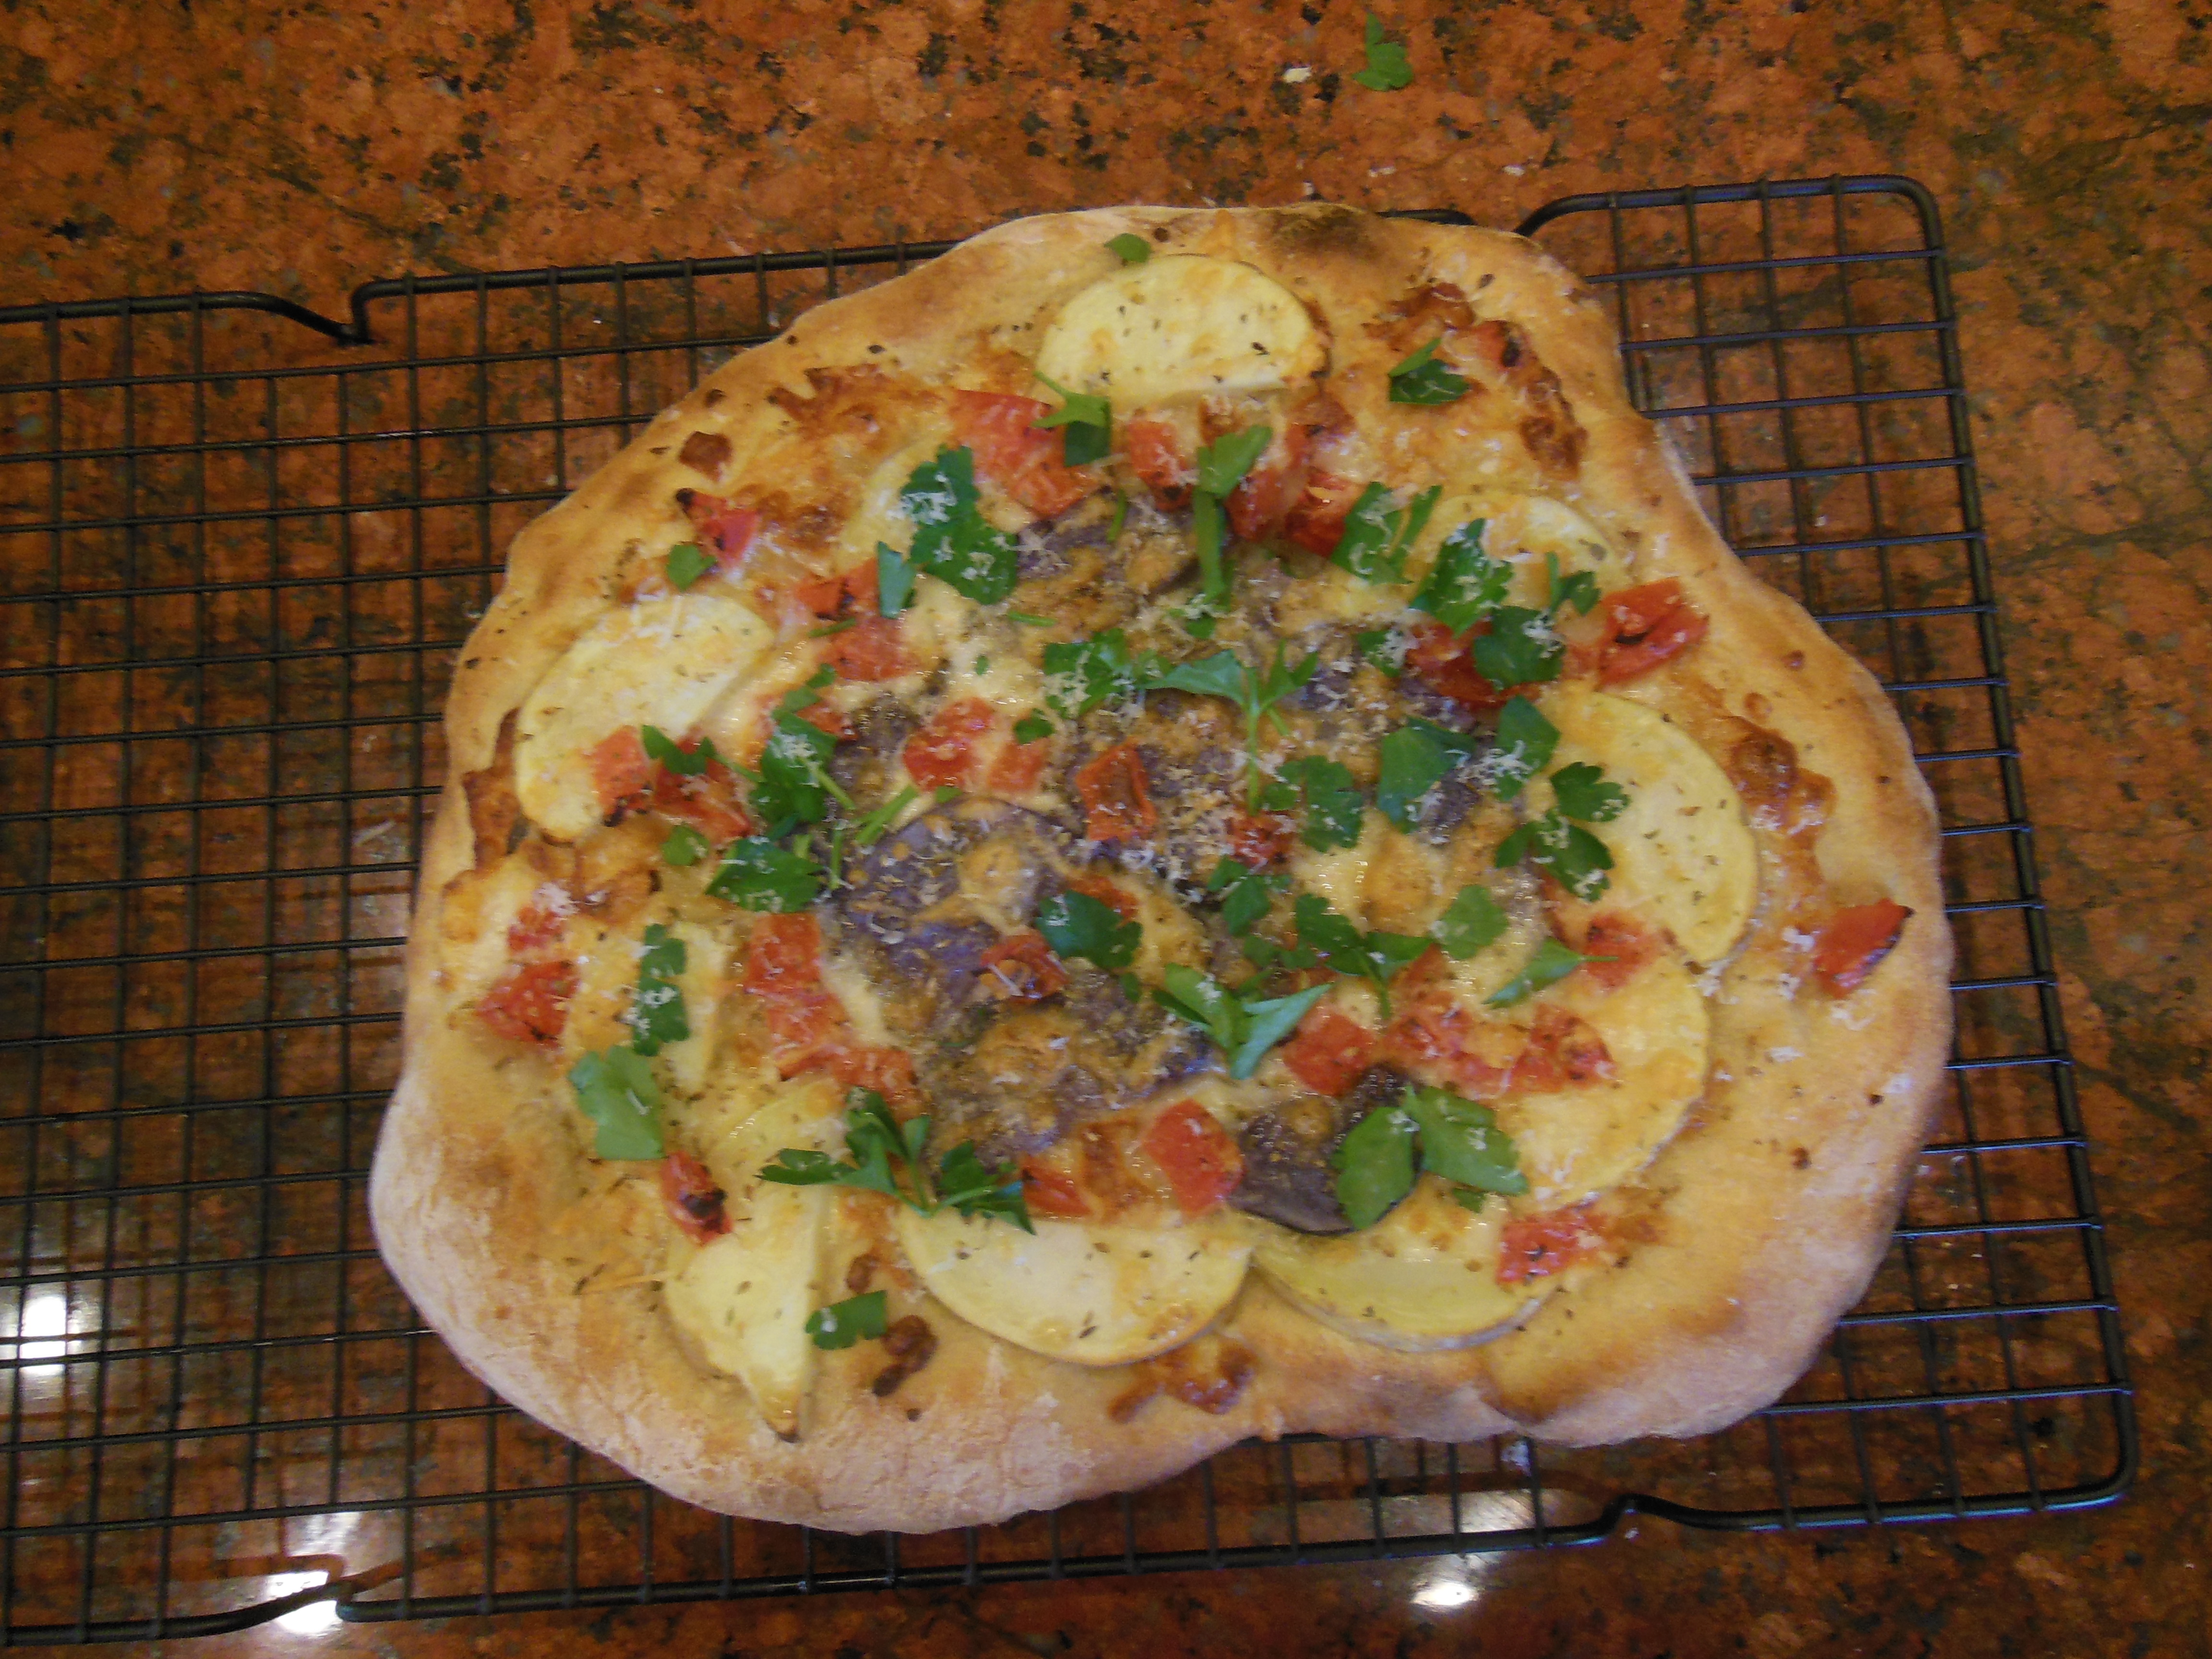
And here’s the teaser from last week, a tomato-potato (purple and white) pie, with basil and some mozzarella and Parmigiano-Reggiano (P-R).
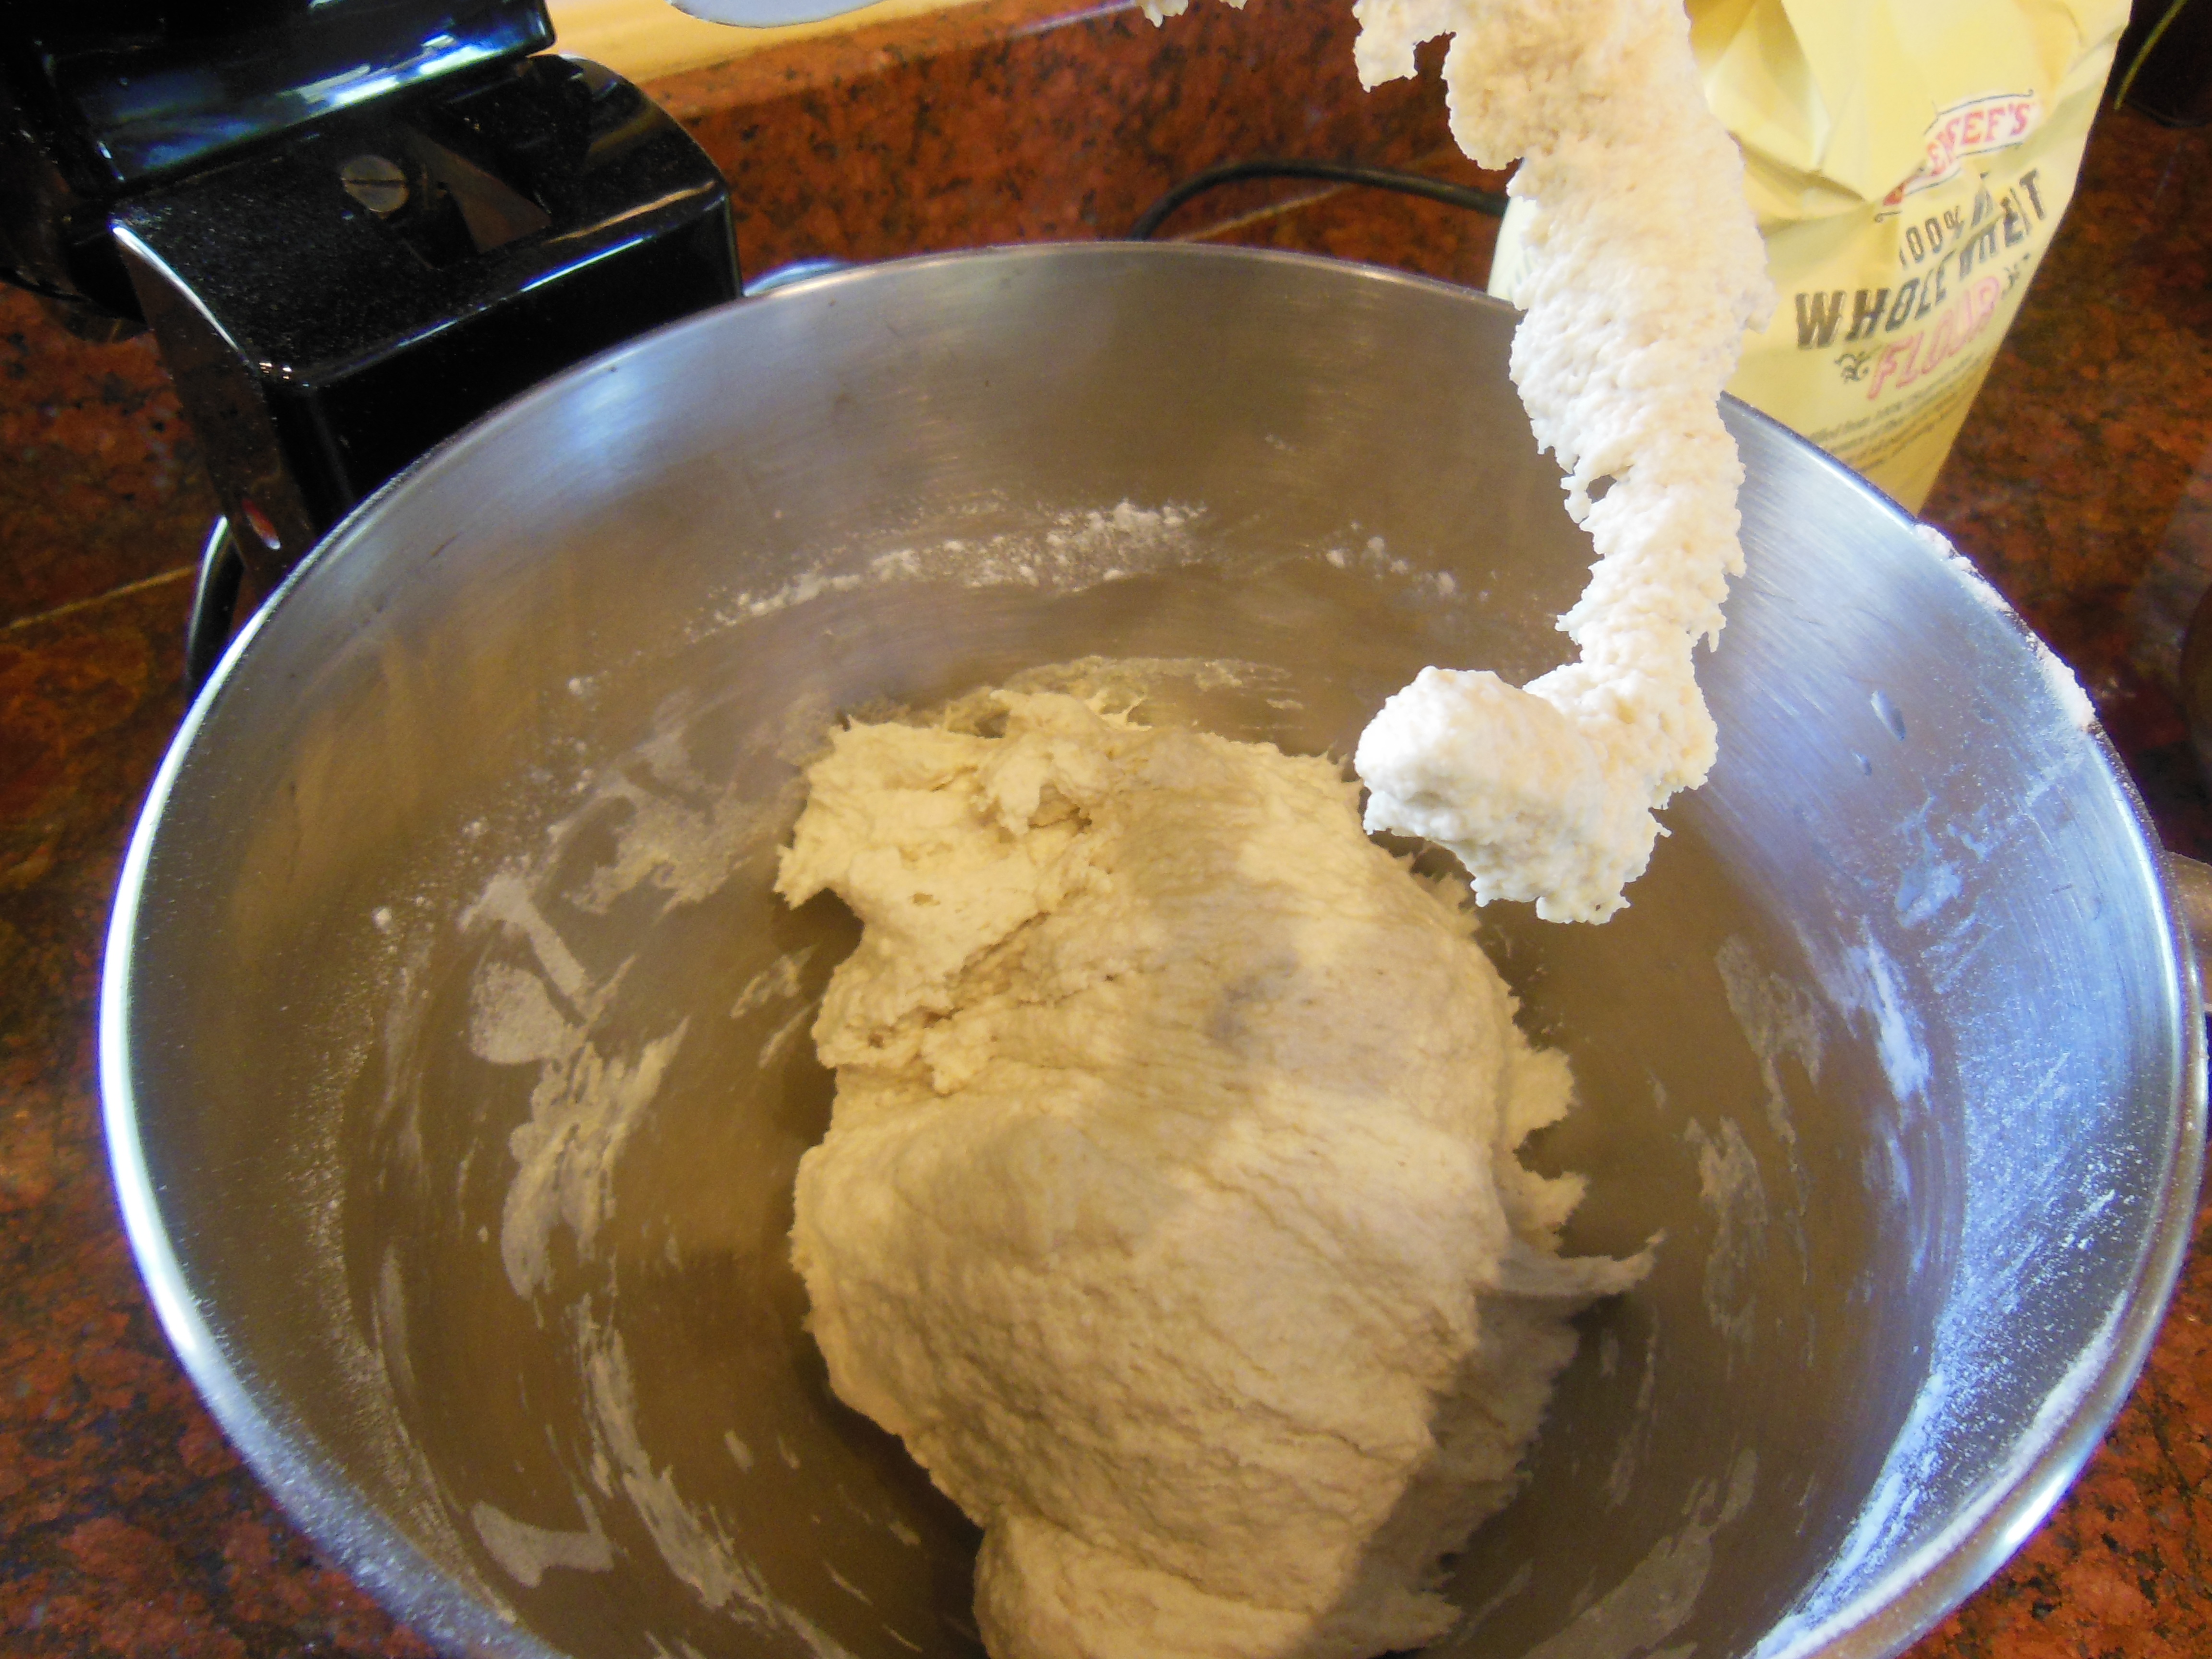
So, how does this happen? For equipment I have a Kitchen Aid stand-up mixer with a bread hook. A bowl and a spoon substitute nicely, and it’s not the kneading but the mixing that is bothersome. Either way works.
I use the Baking Steel and a regular home oven that heats up to 550°. A pizza peel helps, along with a rack for cooling.
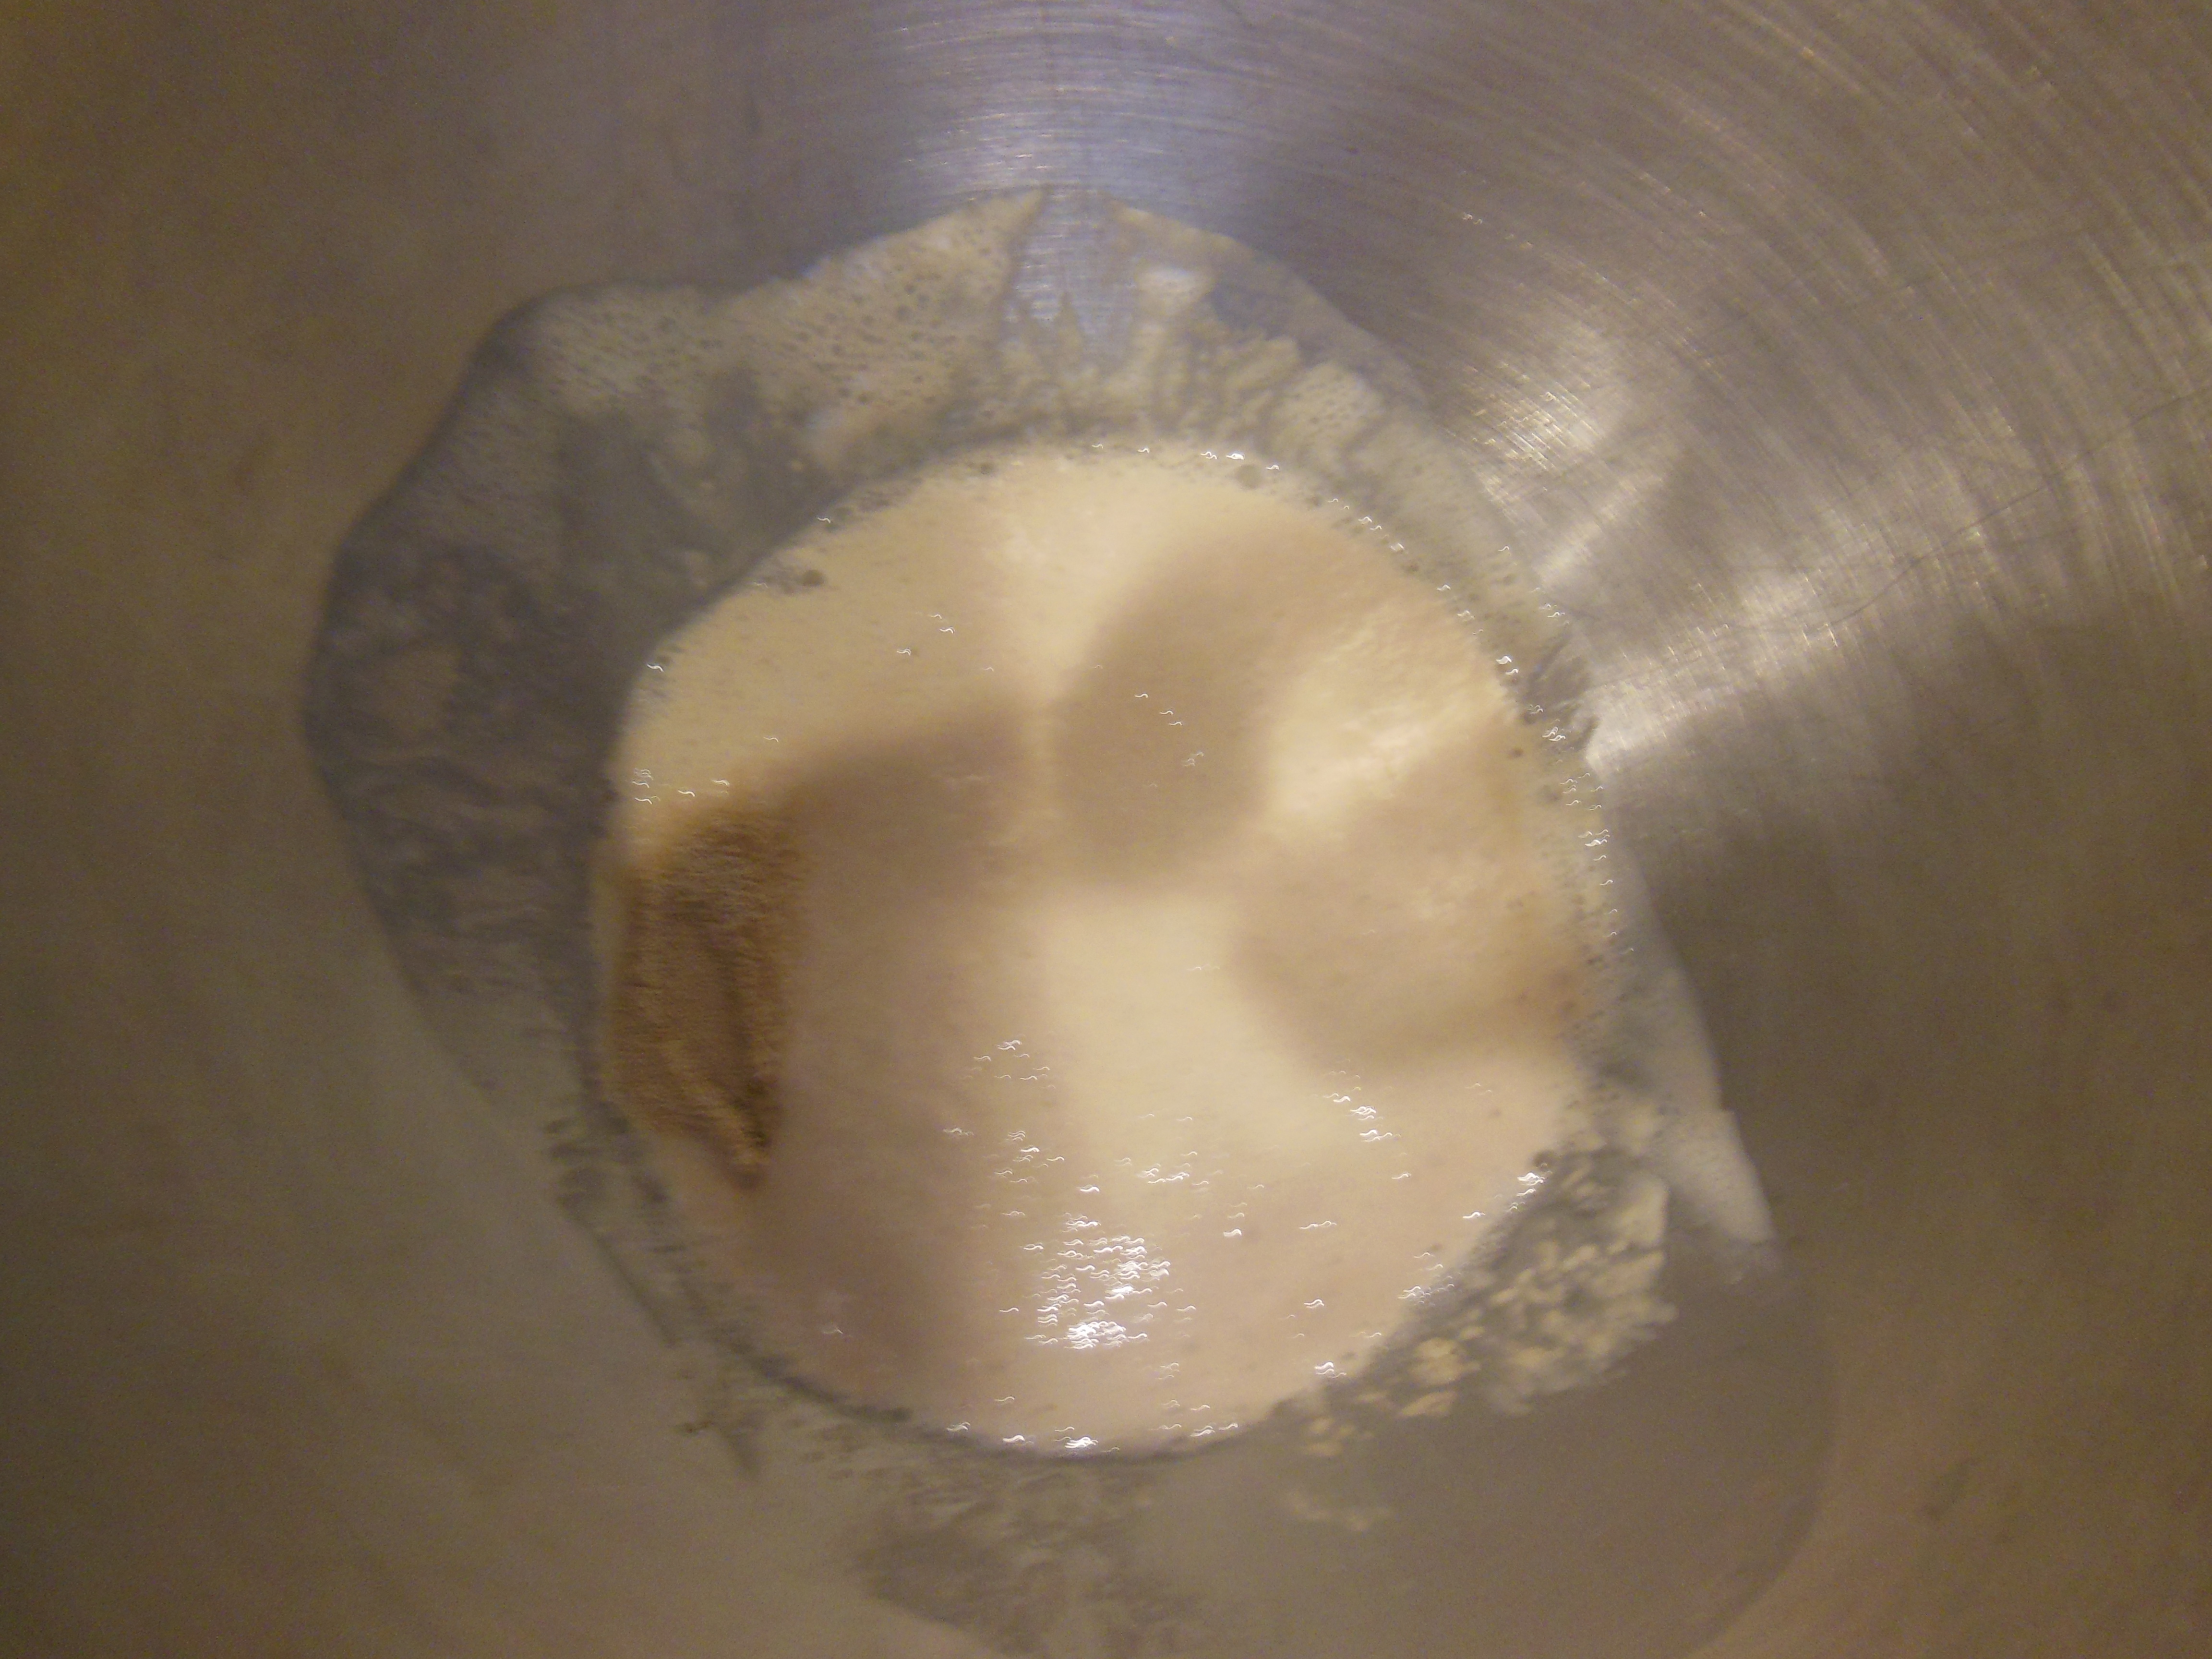
I start with filtered water, store-bought yeast, and table sugar. Use two cups of water of water, one tablespoon of yeast—which equals one packet—and two teaspoons of sugar. Heat the water to about 90°. (That takes one minute at level eight in my microwave.) Add the yeast and sugar to the bowl, add about ½ cup of water, and let the mixture sit for about five minutes. It should like the picture below. (Well, actually, the pocket of dry yeast on the left is not ideal, but it’s also nothing to worry about.)
While your mixture bubbles, measure: (a) one cup of white whole wheat flour; (b) one cup of 00 flour; (c) about ½ cup of semolina flour; (d) about two cups of bread flour; and (e) two teaspoons of kosher salt. The whole wheat and semolina flours add flavor and texture. The 00—it’s the flour used in Neapolitan pizzas—contributes softness. Finally, the high-gluten bread flour provides structure and body. Here they are:

Mix everything up and start adding water and flour. No magic to how you do it, but you want to be sure your flour doesn’t go flying, so: (a) don’t add flour when the mixer is on; and (b) make sure you’re adding flour to a pretty moist mix.
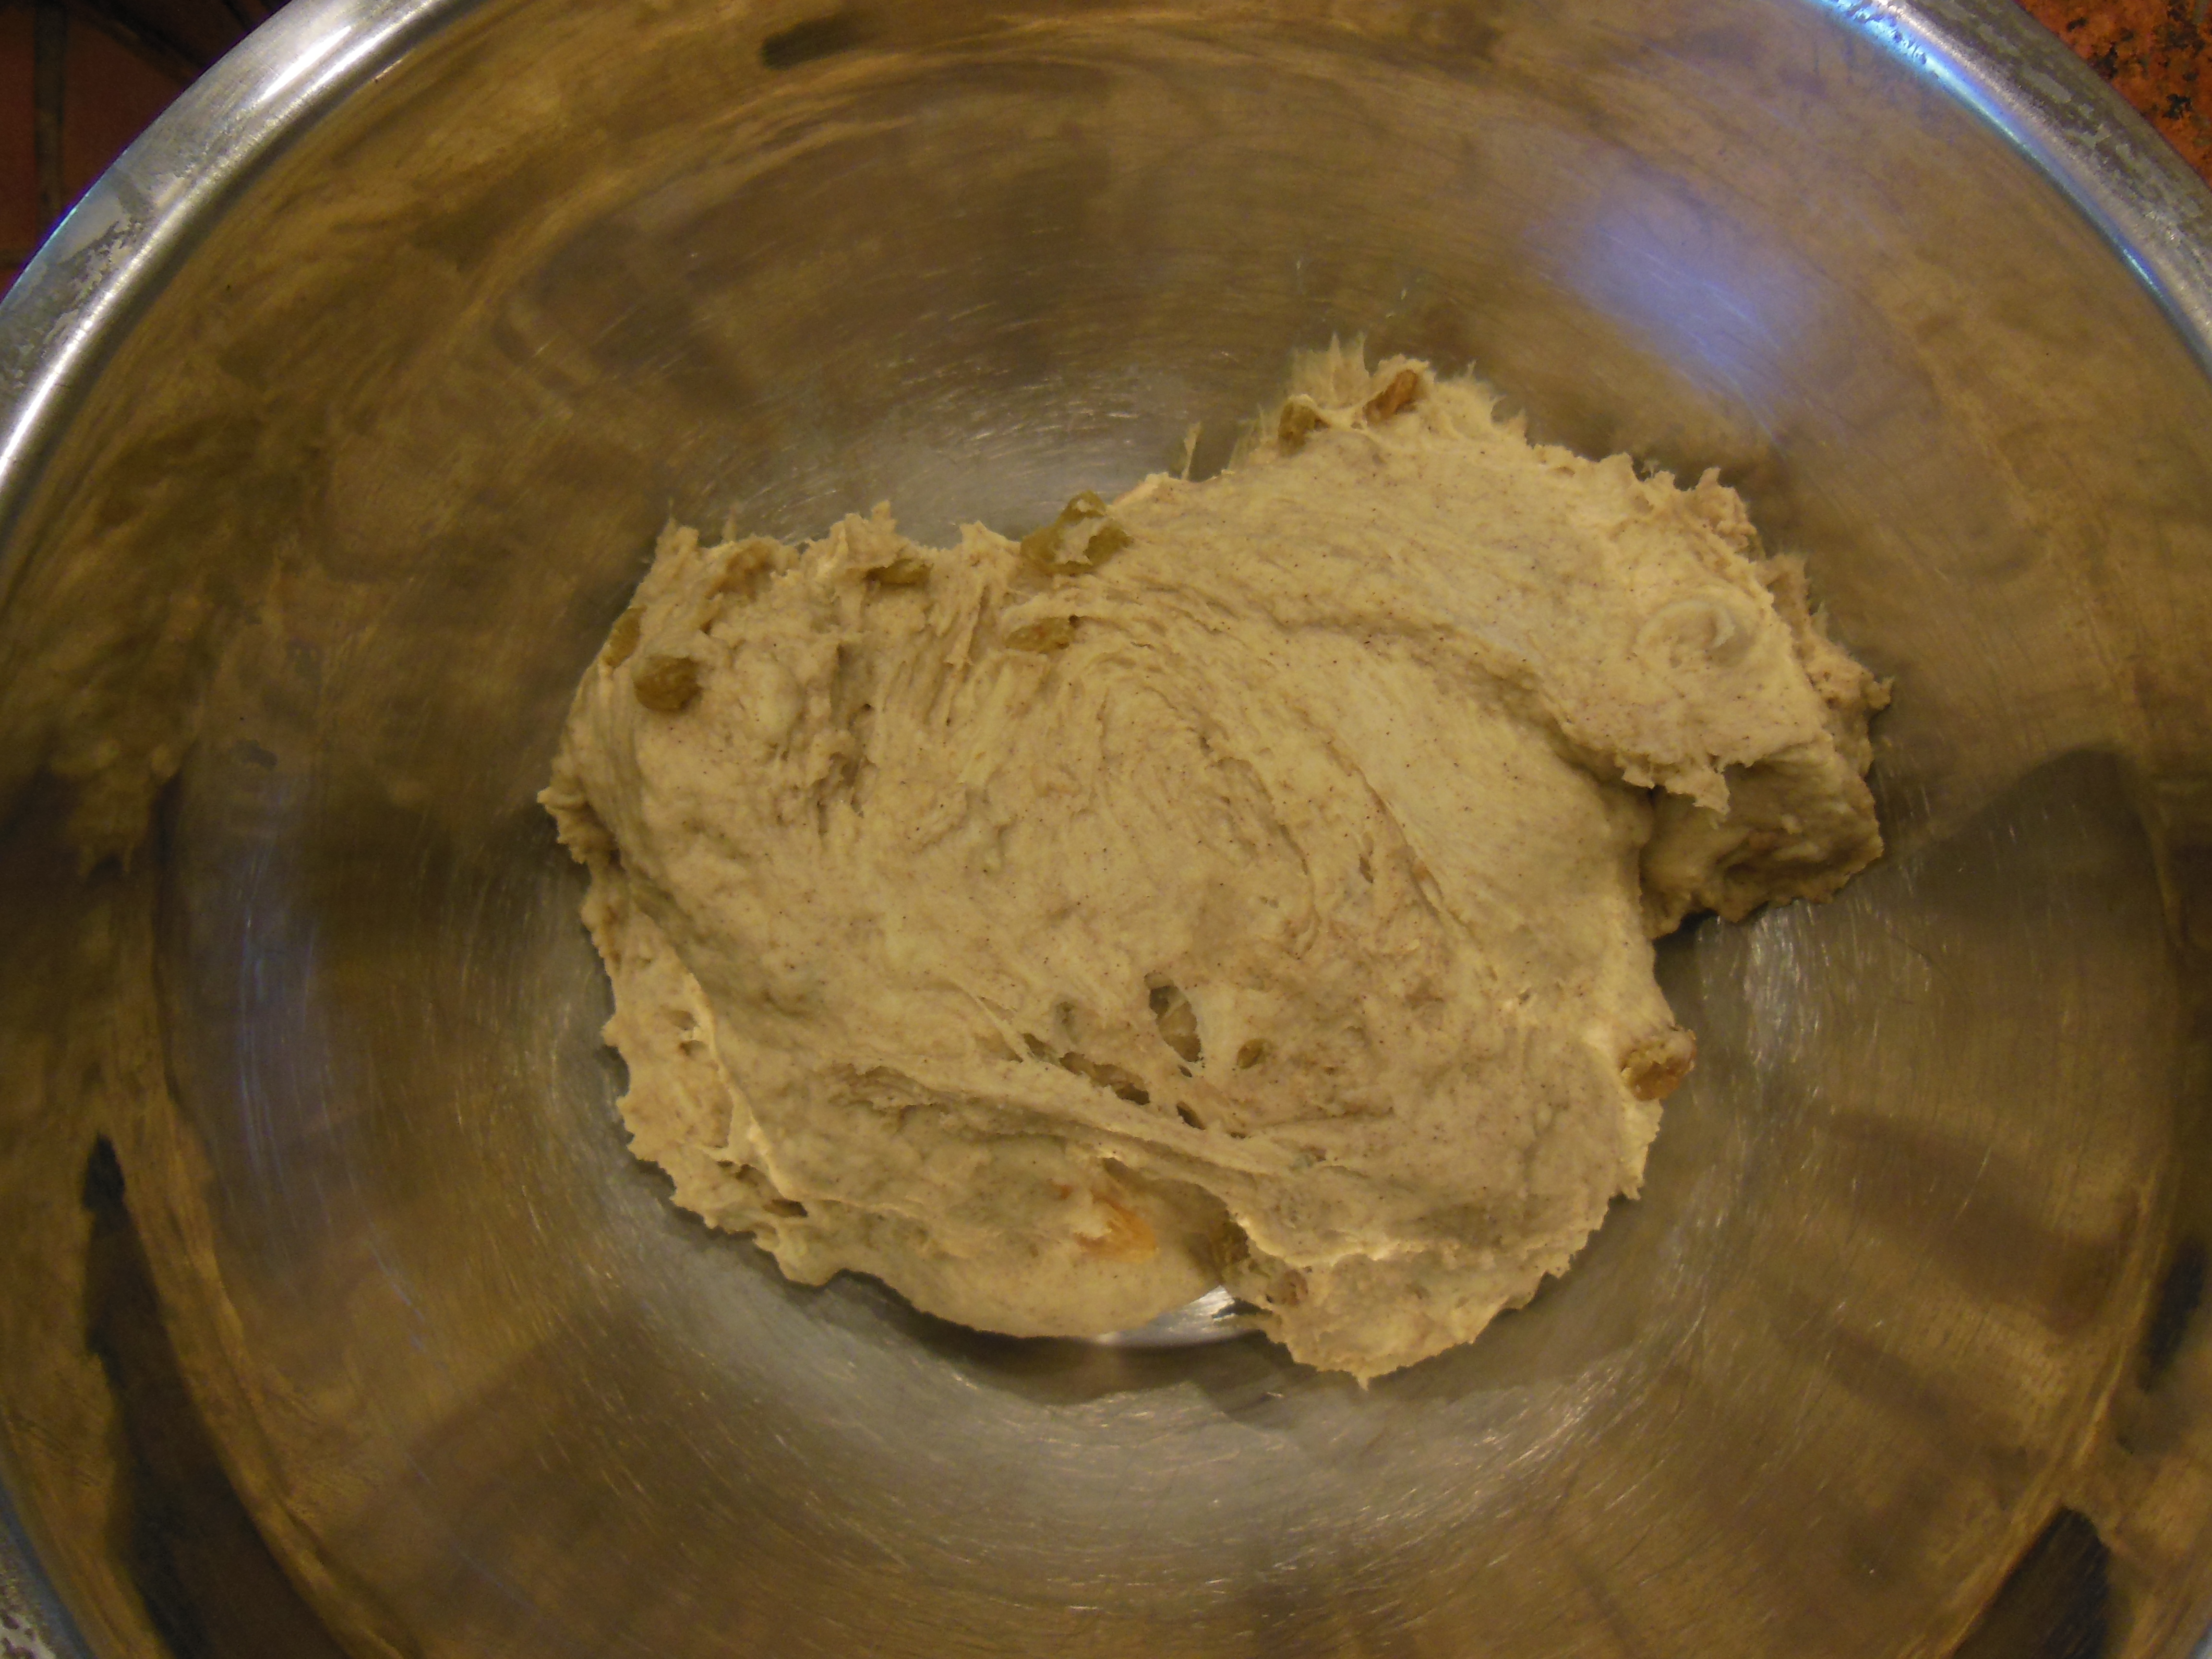
You want your dough to be as moist as you can make it, without leaving half a pizza on your hands when you remove the dough from the mixer. More moisture makes your pizza less doughy/heavy. Add flour if you can’t handle the dough, but add it in small increments. Here’s a peek (and the two pics are out of order):
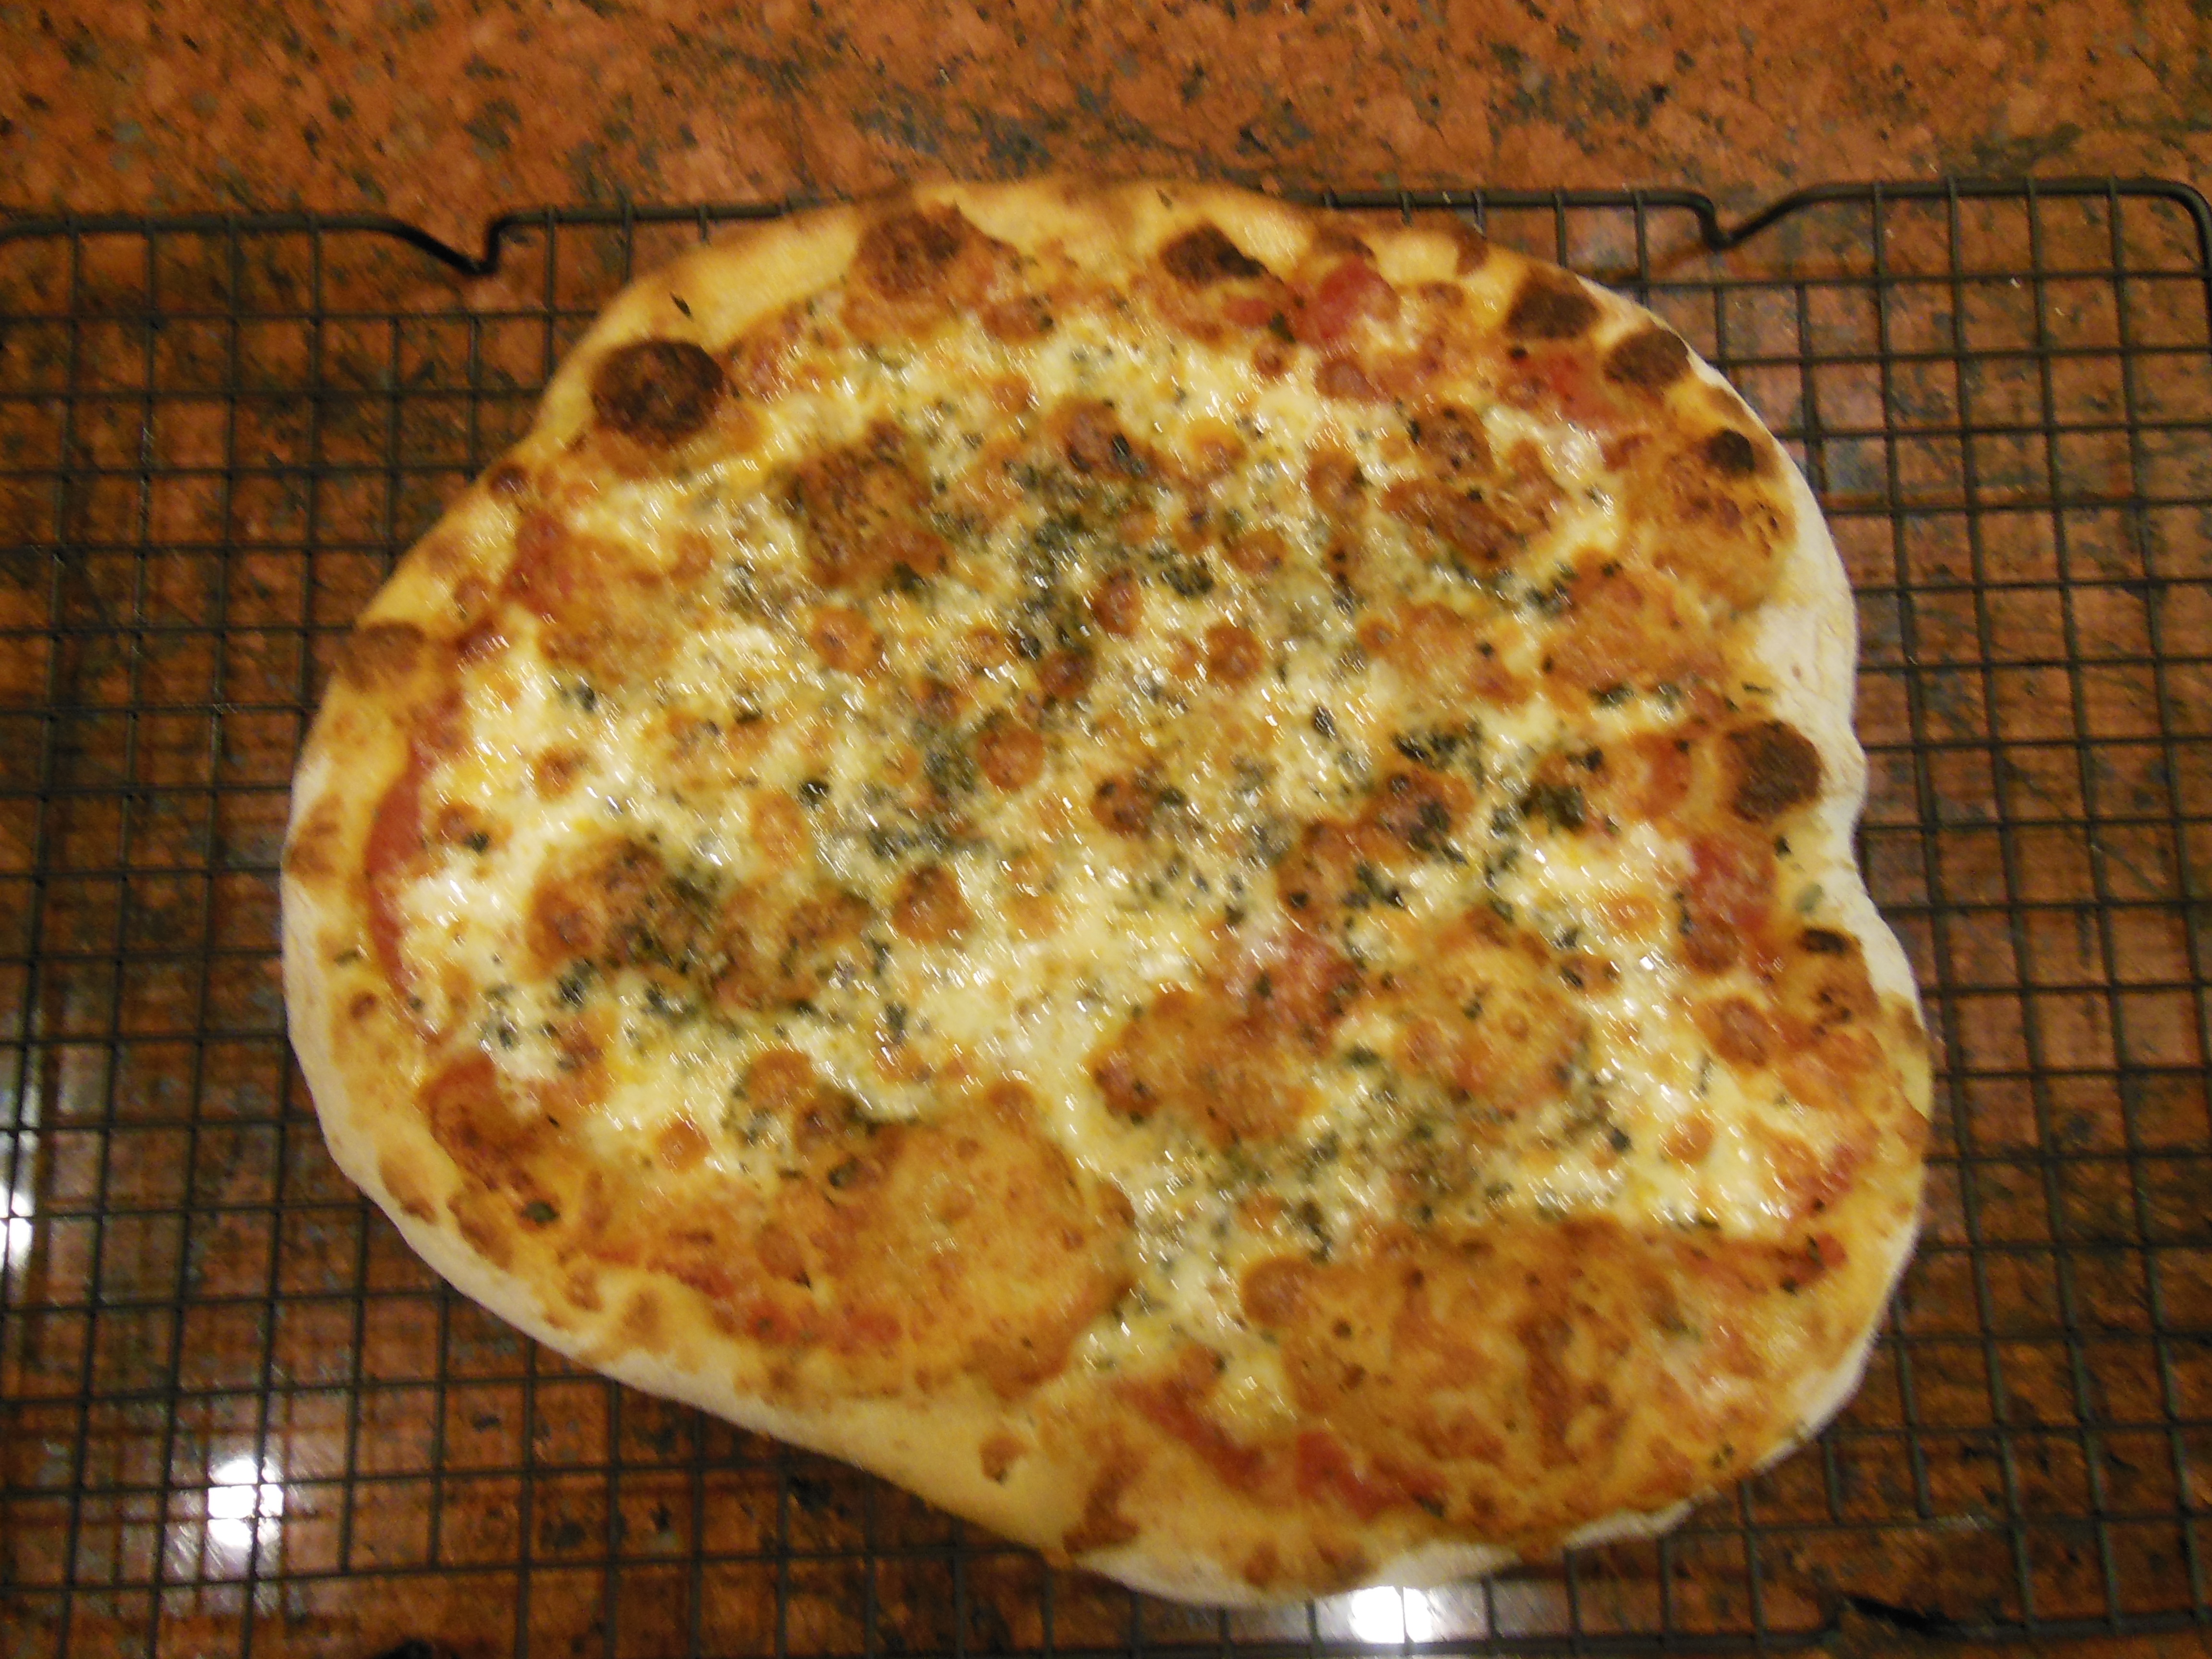
Now, here’s where I go off the grid! Most recipes call for a 1-2 hour rise, maybe another rise, and, then, roll it out, top it, and bake it. Not me! I will let the dough rise for an hour or so in a bowl; then I refrigerate it in a Ziplock bag—gallon size—and mostly forget about it for days. (The pizza you see below is from 9-10 day old dough. A little sour smelling, but my hometown has made an industry out of using sour dough for bread!)
The rest is easy. Open the Ziploc bag and turn it inside out, into a metal bowl. Cover the bowl with plastic wrap and let it sit until the dough has doubled. That is usually 2-4 four hours, and since the dough makes 2-4 pizzas, split the dough up and it’ll rise faster and be divided already.
Put the Baking Steel—or a cookie sheet if you have no Baking Steel—in the oven and preheat to 550°. When the dough is ready, flour your counter and roll out or spread the dough to an appropriate size and thickness. (Chapters have been written about rolling dough, and this won’t be one of them. Mostly I spread, but I have been at this for almost 40 years. Do what works for you!)
Toss some cornmeal on your peel. It works like tiny ball bearing when you’re ready to slide the pizza into the oven. Put the pizza on the peel, top it, and slide it in. (If this is difficult, take the cookie sheet out, put your ready-to-top dough on it, top it, and put it in the oven. DO NOT, UNDER ANY CIRCUMSTANCES, HANDLE A HOT Baking Steel!)
Bake until brown. With the Baking Steel I’m at 6-7 minutes or so. With a cookie sheet? Maybe 10. And when I’m invite to join friends Q and P and use their wood-fired pizza oven, 2-3 minutes, and the pizzas are amazing!
And now, for your viewing pleasure, my Friday night, made-to-eat-cold-for-breakfast-on-Saturday—and prepared to make the blog deadline—cheese pie. Basic dough (¼ of the recipe) with bottled, store-bought Marinara sauce, Trader Joe’s organic shredded mozzarella, dried Italian spices and P-R:
Here are a few topping tips:
Less is more, especially while you’re getting the hang of the peel. Heavy pizzas slide poorly.
Watch out for high water veggies, like fresh mushroom, tomatoes, and zucchini. I sauté first, but if you don’t want to, put the veggies on top of the cheese and go light on the sauce. There’s not much that is worse than wet pizza!
Boiling potatoes work well, but they need to be par-boiled and sliced. Roasting for a bit—they’ll crisp up some more on the pie—can be spectacular!
Be creative! One of my favorite pizzas includes a bit of olive oil, canned tuna, chopped green onions, preserved lemons, with some parsley and grated P-R, added after baking.
Enjoy!
P.S. Gotta work on the photography. Lighting, lighting, lighting!
4 Responses to Pizza Primer